
Leadmastro - Creating a New Lead
Overview
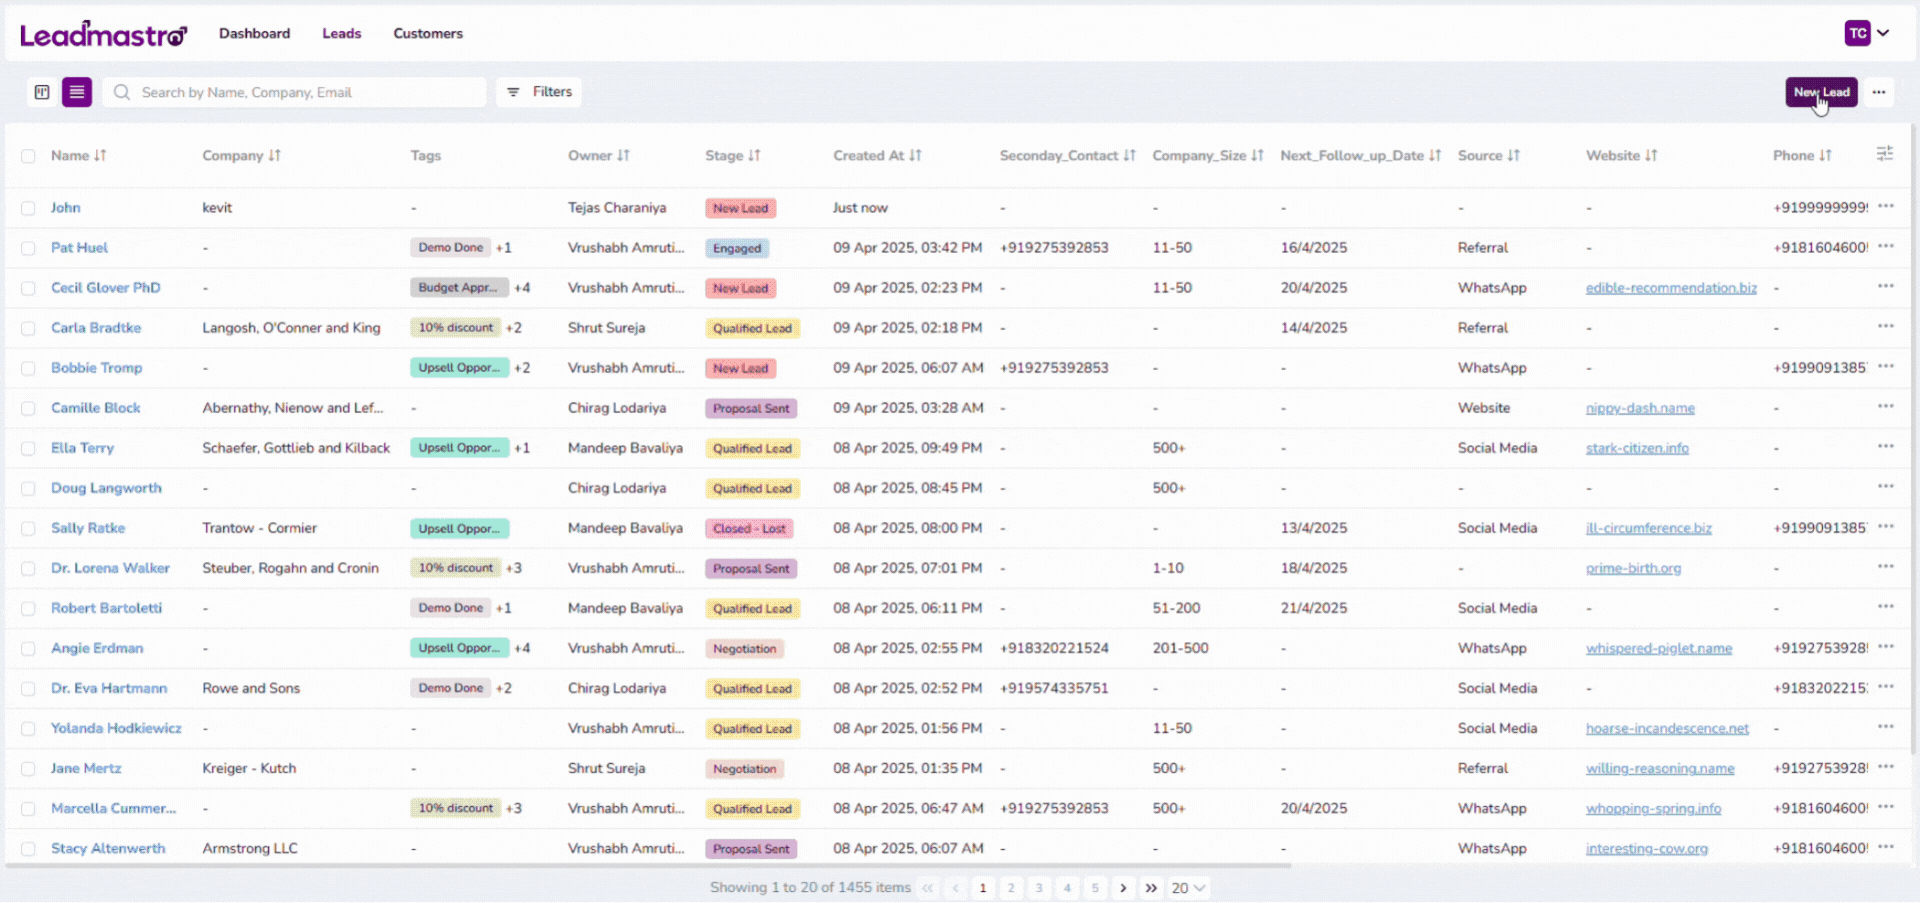
This guide walks you through the steps to Create a new lead. You can manage your sales pipeline effectively by adding, updating, and customizing fields such as stage, source, deal size, and custom data points based on your business needs.
Steps to Create a New Lead
Enter Basic Lead Information
- In the Add New Lead form, fill in the following details:
- Name (Required): Enter the full name of the lead (e.g., John Doe).
- Stage: Select the appropriate stage from the dropdown:
- Default Stages: New Lead, Contacted, Qualified Lead, Engaged, Proposal Sent, Negotiation, Closed-Won, Closed-Lost, Disqualified Leads
✅ You can create, update, or delete stages from the Settings panel to align with your unique sales pipeline.
- Email: Provide the contact email address.
- Website: If applicable, include the company or personal website URL.
- Owner: Assign the lead owner from your team (e.g., Tejas Charaniya).
Add Company & Job Details
- Company Name: Input the lead’s organization (e.g., Google).
- Phone: Enter the phone number with country code (e.g., +91).
- Job Title: Specify the lead’s job role (e.g., Product Manager).
- Source: Choose the lead source from:
- Social Media, Website, LinkedIn, WhatsApp, Referral
Deal Information
- Conversion Probability: Add a percentage value (e.g., 50%) to indicate likelihood of conversion.
- Deal Size: Enter the expected deal value or budget.
- Tags: Add relevant tags for easy classification and filtering.
✅ You can create, update, or delete tags in the same form.
Custom Fields (Optional)
- Next Follow-up Date: Schedule the next interaction.
- Secondary Contact: Provide an alternate contact detail.
- Company Size: Select from predefined values or create custom ones.
✅ Note: Custom fields are not created by default. You can configure them under Settings based on your use case.
Save or Cancel
- Once all required details are filled:
- Click Save (bottom right) to add the lead.
- Click Cancel to discard the entry.
Key Benefits
- Streamlined Lead Entry: Easily capture all essential lead details—such as name, email, company, and job title—in a single, user-friendly interface.
- Customizable Sales Stages: Tailor your sales pipeline by creating, updating, or deleting lead stages directly from settings to reflect your unique business flow.
- Flexible Lead Sources: Track where your leads are coming from with source options like Social Media, LinkedIn, WhatsApp, and more.
- Deal Insights: Include conversion probability and deal size to assess lead quality and prioritize high-value opportunities.
- Custom Fields for Personalization: Add custom fields like follow-up date, secondary contact, or company size to store specific information relevant to your business needs.
- Owner Assignment for Accountability: Assign leads to specific team members to ensure clarity, ownership, and faster response times.
- Improved Lead Segmentation: Use tags and filters to categorize and segment leads efficiently, enhancing your ability to nurture and convert them.
- Consistency & Accuracy: A structured form ensures consistent data collection across the team, reducing errors and improving reporting.
Final Thoughts
This simple and intuitive form helps streamline the lead creation process, ensuring all necessary data is captured in a structured manner. By customizing stages and fields from Settings, your lead management can be fully tailored to your sales process.